Overall I’m extremely glad I embarked upon this journey of creative research. The module’s emphasis on workflow iterations and design methodologies has really helped my personal working skills.
I have been able to create a successfully workflow which works for myself as well as for a variety of different game engines.
In the future I feel I will be able to confidently tackle 3D modelling situations as well as being able to easily formulate concept ideas and iterate them into a realistic looking 3D model which can be imported into a game engine.
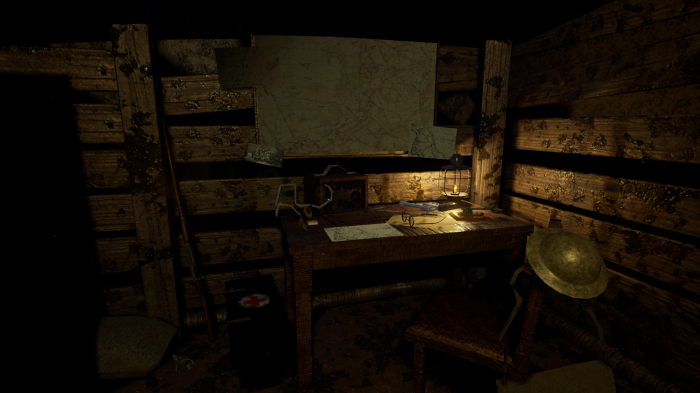
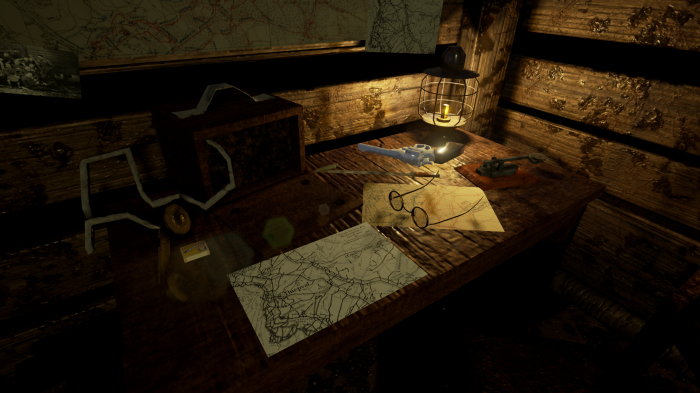
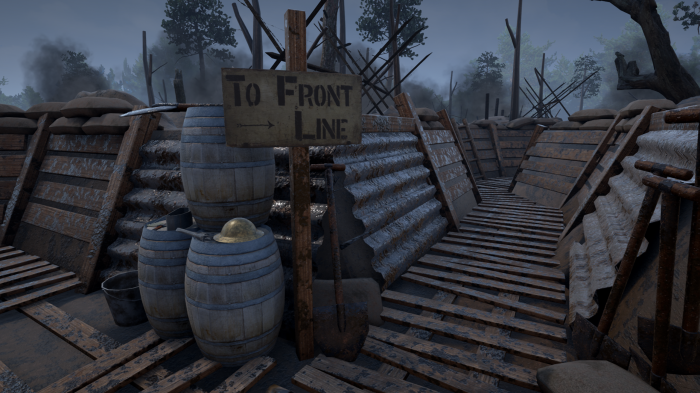
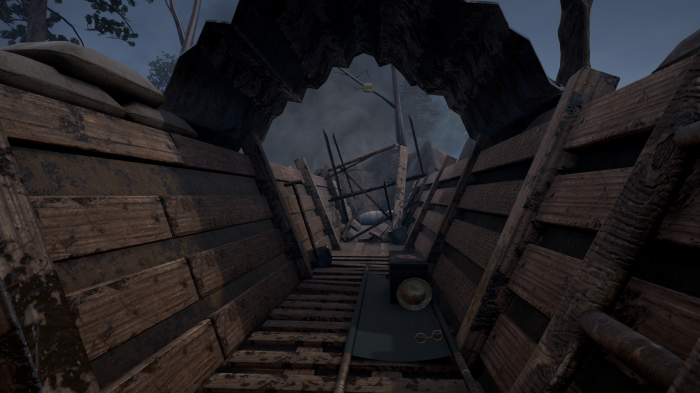
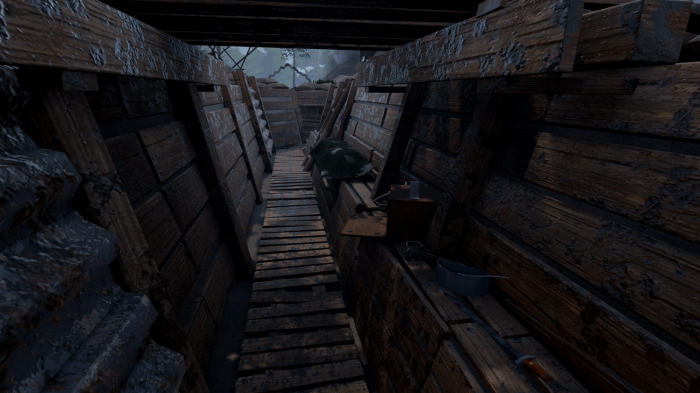
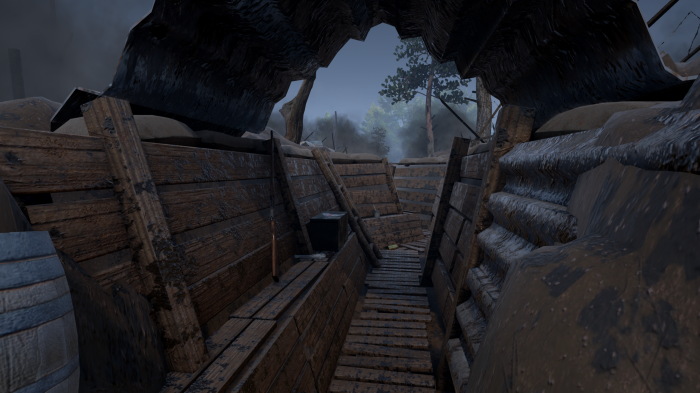
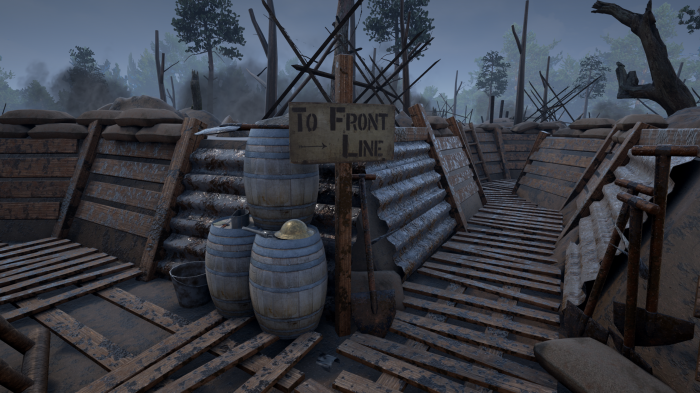
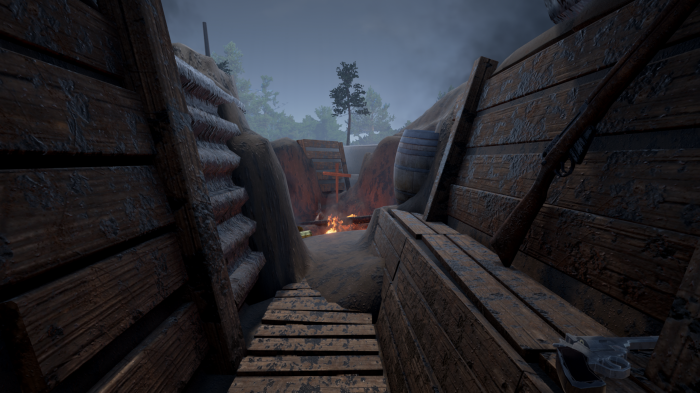
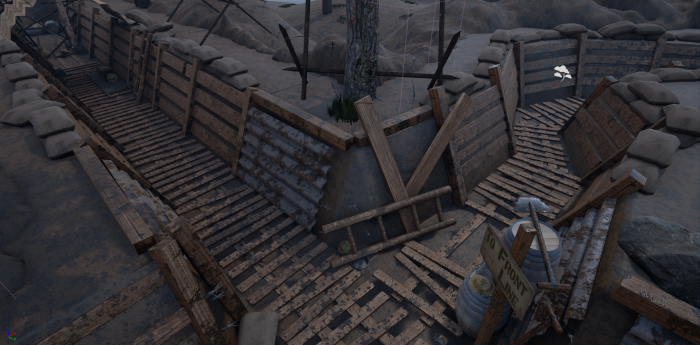
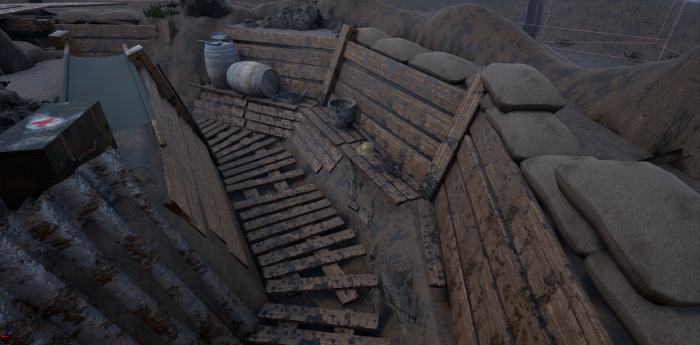
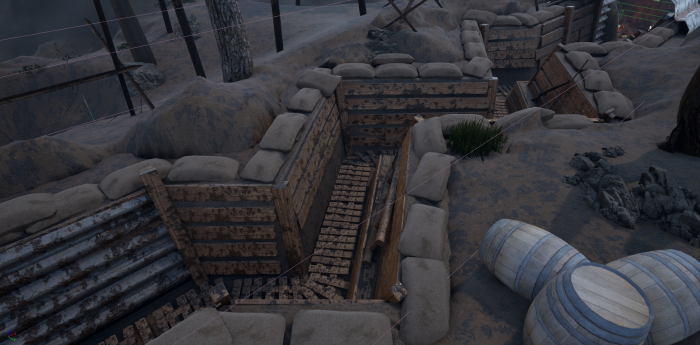
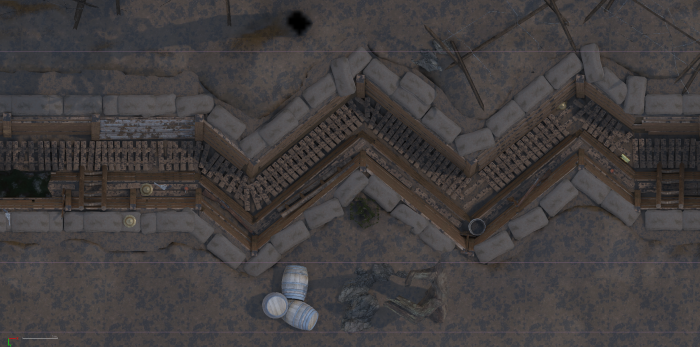
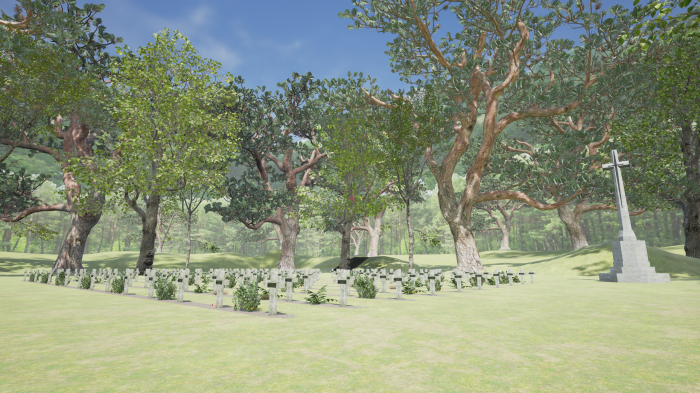
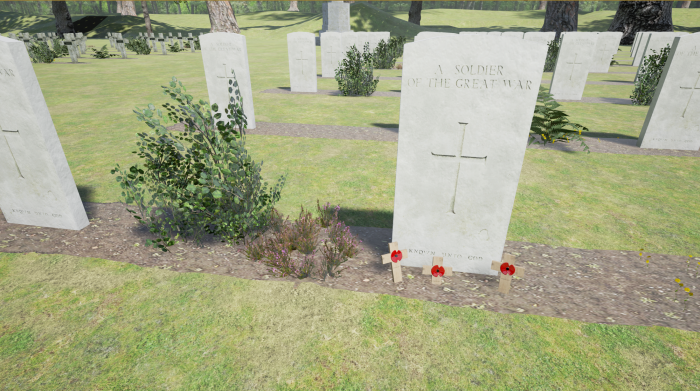
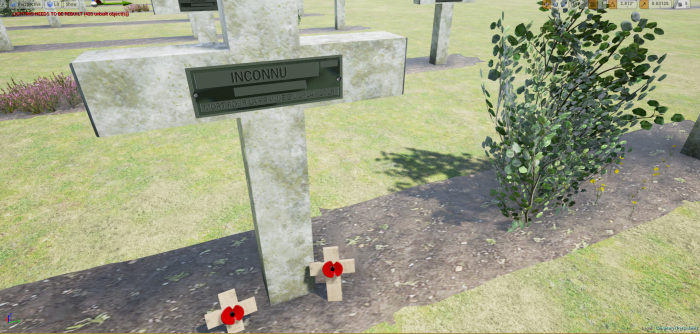
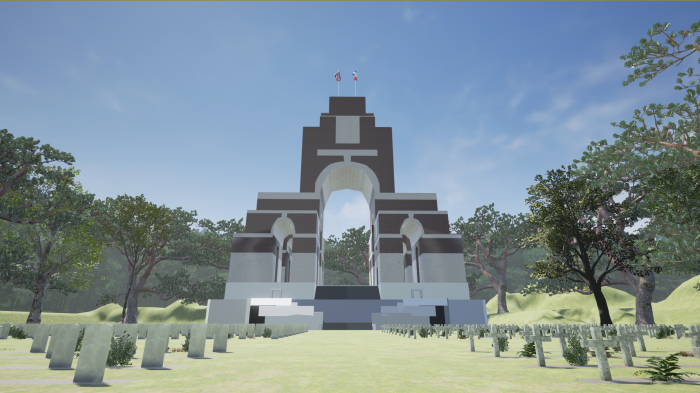
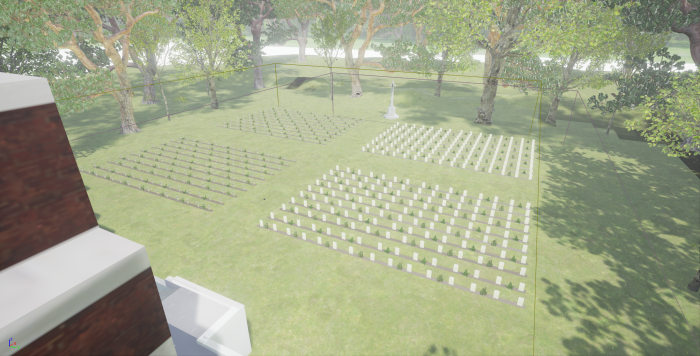
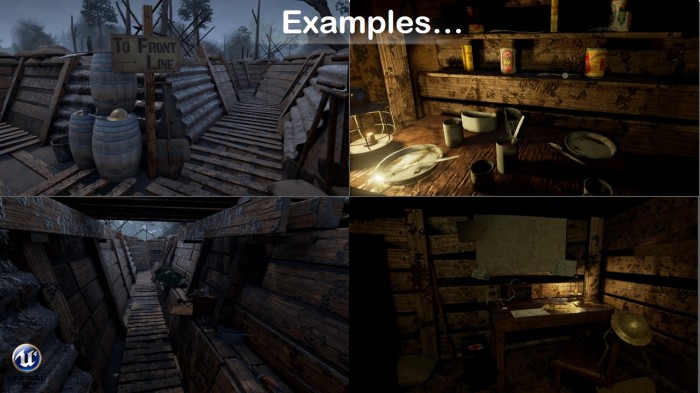
Below are example of a level which I was able to make with the assets and a few on Unreal Engine 4’s built in assets.
My feedback from my presentation was overall positive although it seemed the idea of the whole process only came together in the final slides. I will make sure to include more sample scenes that can be created with the assets.
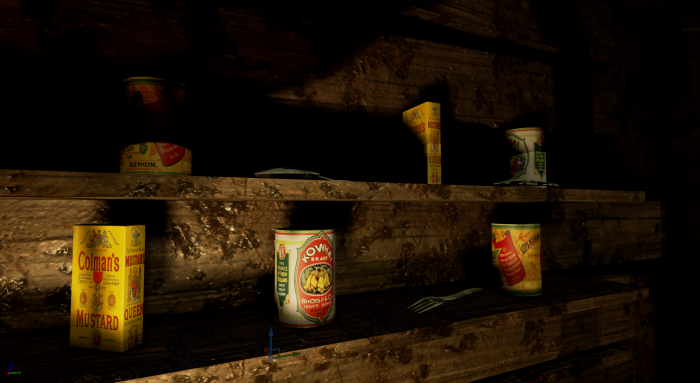
I only had time to set up a small survey once I had finished the assets. It’s available on the my 3D asset website under the heading “Feedback”. So far 2/3 of visitors have said that they Strongly Agree that the assets looks realistic, with 1/3 saying that they Agree. 100% of the survey takers could easily recognise which era the items from. Feedback Survey
This documentary series from 1964 has been excellent in putting me into the proper mindset for developing World War One assets. It’s also given me more of an insight into what happened and how life was in the trenches.
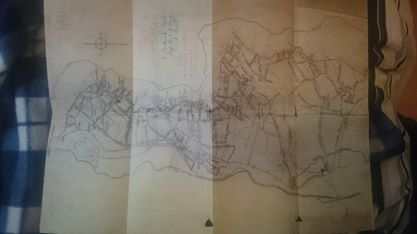
On a rather unrelated topic, today I received a copy of a replica of an officer’s trench map depicting the Thiepval from 1916 which I purchased on eBay.
The maps is hand-drawn and gives an eye-opening insight into how extensive the trench system along the western front was.
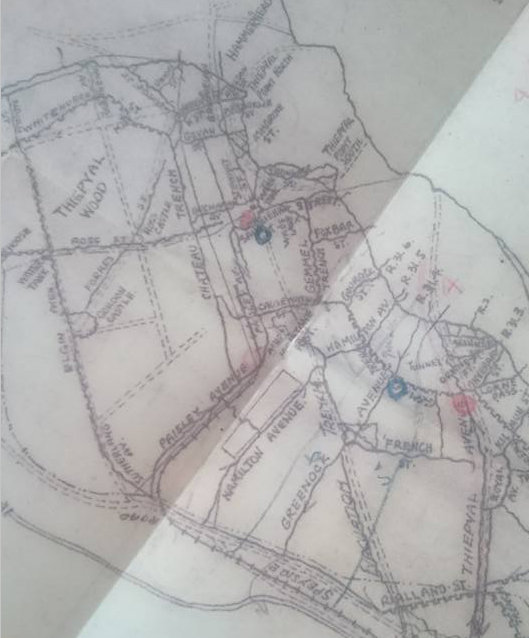
Close-up of the Thiepval area.
During the war Thiepval was one of the most formidable German fortress towns on the Western Front. It had mazes of trenches and a vast complex of underground dugouts in which the German soldiers were protected from constant, fierce British artillery barrages.
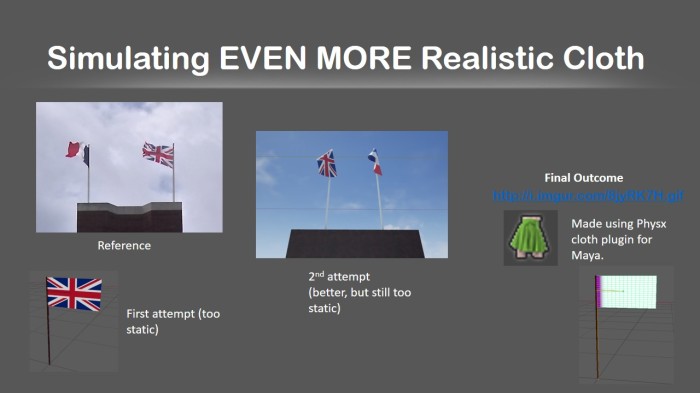
Using nCloth to simulate cloth is a great way to achieve the realistic look you want to achieve. But what if you want to actually want to make the model BEHAVE like cloth within a game engine? This was something I just had to find out, and then be able to replicate it for myself.
After a few searches for different plugins to achieve the effect, I concluded that the best way to do so was to use the PhysX Clothing plugin for Maya which “lets artists quickly generate characters with dynamic clothing to create an ultra realistic interactive gaming experience.”
Key Features
Artist-focused tools to ensure turnkey solutions
Full artist control over clothing settings and behavior
Hybrid of simulated and skinned clothing
Support for clothing constraints
Support for Self-collision
Ease of scalability for different gaming platforms
Level of Detail control
Support for single-layered cloth and thick clothing
Here’s an example –
Creating the flags
The PhysX clothing plugin assumes that the user is familiar with rigging meshes within their chosen application and this is something which I’ve not touched on very much.
Steps to creating PhysX clothing for a flag: –
Step one – adding the joints
Create joints along the shape of the flagpole and flag – Skeleton > Create Joint
Bind the flagpole joint to the flagpole and the flag joint to the flag – Skin > Bind Skin
Turn the flag into clothing – Select flag > Click the little kilt icon
Paint on the areas you wish to simulate – Setting Wrench > Paint
Step four – Painting
Yay! The flag now simulates in the wind and reacts to gravity in Unreal 4!
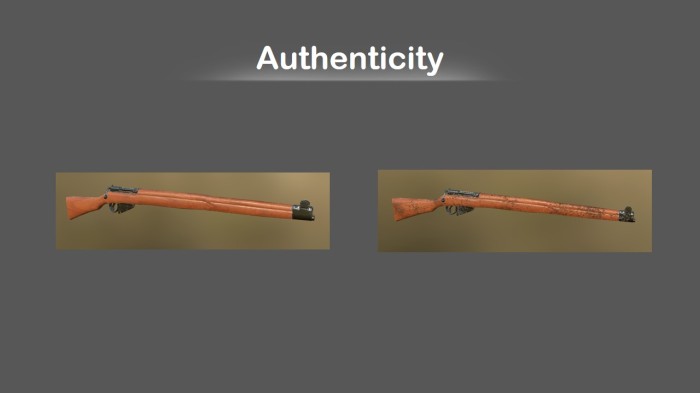
I’ve chosen to model two WW1 era weapons as part of the asset list. Both weapons were both widely used by British soldiers and officers during the war. I chose common weapons so that when playing around with the asset list, users can reuse the assets multiple times without it looking repetitive.
I’m using Autodesk Maya 2016 to create my models for the asset collection.
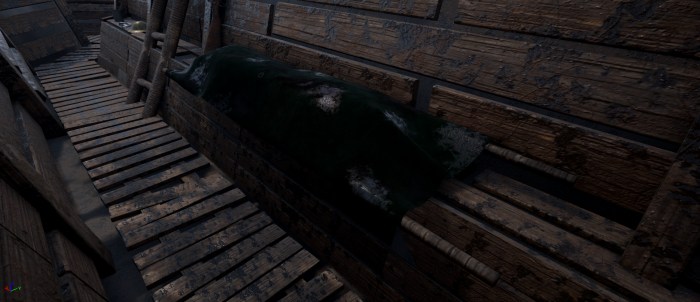
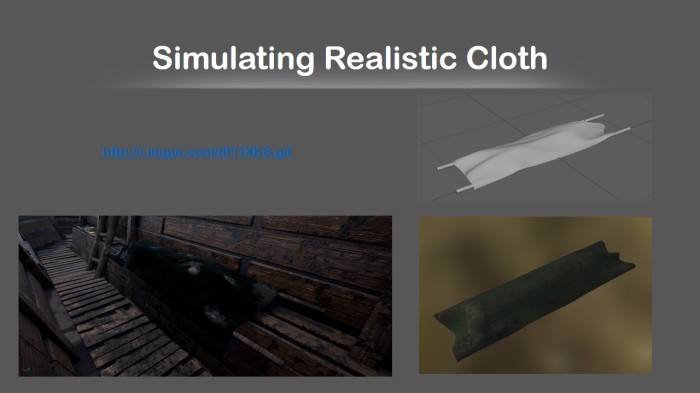
Maya gives the user the ability to create something called an “nCloth”. nCloth can be created from any modelled polygon mesh and is ideal for achieving certain poses and controlling direction. I decided that this would be a great way to create a body on a stretcher.
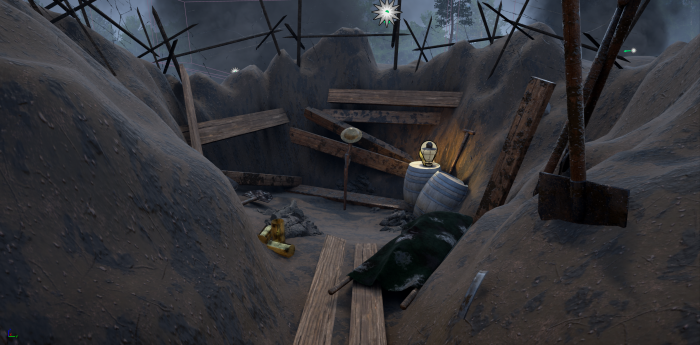
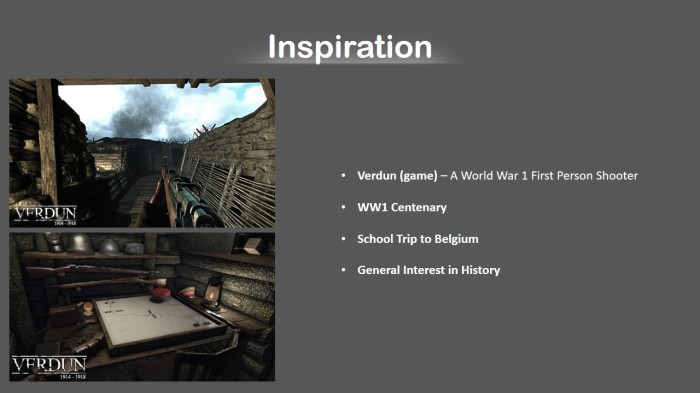
I got the idea to create this model while playing Verdun. They place models like this in close proximity to the player while in the front line trenches. Used in such a way, they add to the sense of fear and mortality which one may possibly find upon a battlefield.
For this model I imported my model of a stretcher then added a very rudimentary human figure lying upon it. When the nCloth fell it created the exact shape I was looking for and I was really pleased with the results.
Main steps to creating an nCloth in Maya 2016: –
Make desired objects into cloth – nCloth > Create nCloth
Allow other object to collide with cloth – nCloth > Create Passive Collider
Once I had the cloth shape I desired it was simply a matter of freezing the transformations of the mesh and deleting it’s history. A few hits of “Mesh > Reduce” on the cloth also allowed me to keep the poly count down.
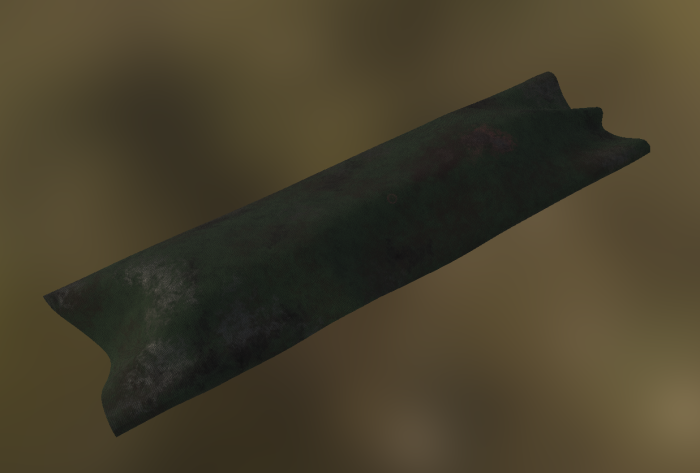
Taking it into Substance Painter
Once I exported the .fbx file from Maya into Substance Painter I gave the mesh a woven cloth material which I then turned green. After this I used one of the brushes to create a congealed blood stain effect which almost glows. To do this I increased added height, roughness and metallic values to the red texture I was using for blood. I also added the dirt brush a few times to make it look worn.
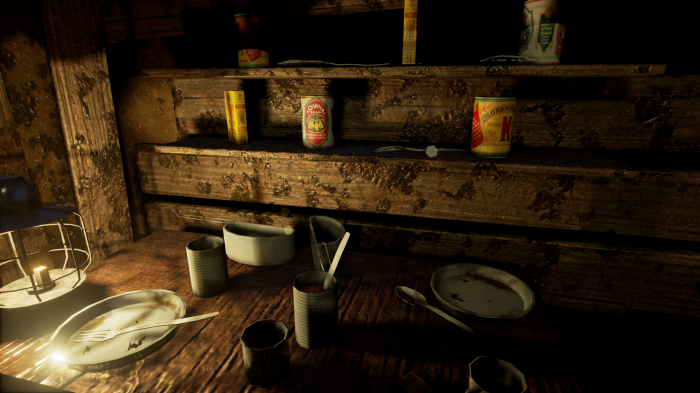
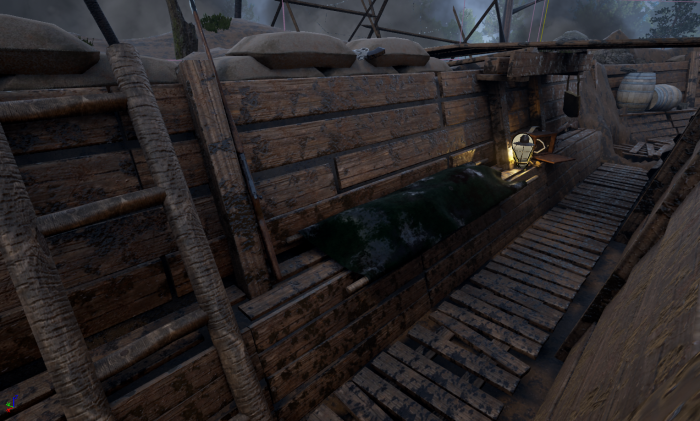
In Unreal Engine 4
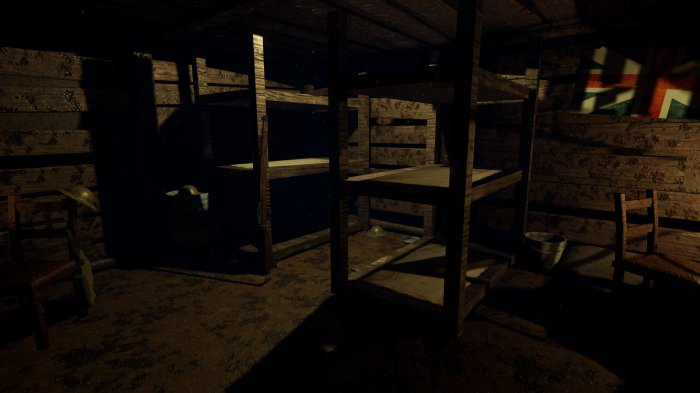
The body looking eerily macabre with in the Trench.
I used to absolutely loathe texturing a model. UV mapping is long tedious and creating realistic textures for 3D models is rather hard when you’re using 2D software such as Photoshop or Illustrator.
Checking out the big boys
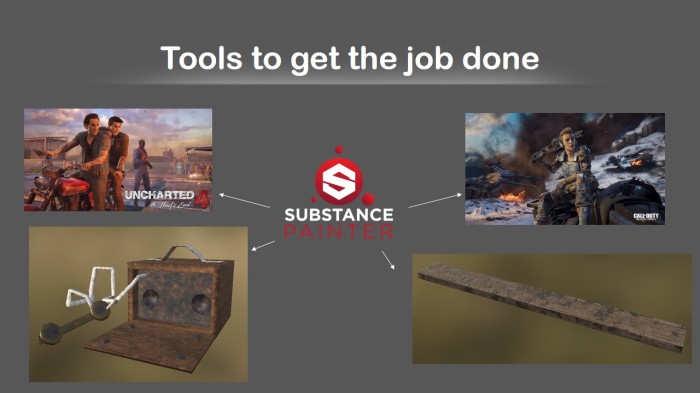
If all of the big games companies out there modelled everything like I’d been doing for the past few years then there probably wouldn’t be much realism out there in the gaming world. In order to seek out a more professional/realistic workflow for my 3D modelling I’ve begun to look at what other companies are using. Both the Call of Duty and Uncharted series strive to create realistic character and environment models. They also share something else in common – both use a software application called Substance Painter to create many of their textures.
What is substance painter?
Substance Painter allows for references 3D painting which makes the creation of textures for 3D assets on of the most enjoyable experiences in game development. “It is acknowledged as the most innovative and user-friendly Texture Painter out there.” For what it does, the software is extremely cheap at £109.99. The software allows for the transfer of skills between two disciplines which have never really meshed well before as Senior Character Artist at Naughty Dog, Glauco Longhi explains: “Using painter 2.0 allows me to do art without being too technical. I can also preview PBR as I go which makes everything easier. I can now apply all my knowledge from traditional painting into my digital texturing workflow.”[Steam]
Testing it out
To test the software out I added in a model of a Lee Enfield rifle which I have been modelling over the past few days. The first image shows the rifle looking clean and new. While the next shows it looking worn and dirty. Trying to do this sort of thing in a 2D application like Photoshop would have been nigh impossible for me.


 > Paint